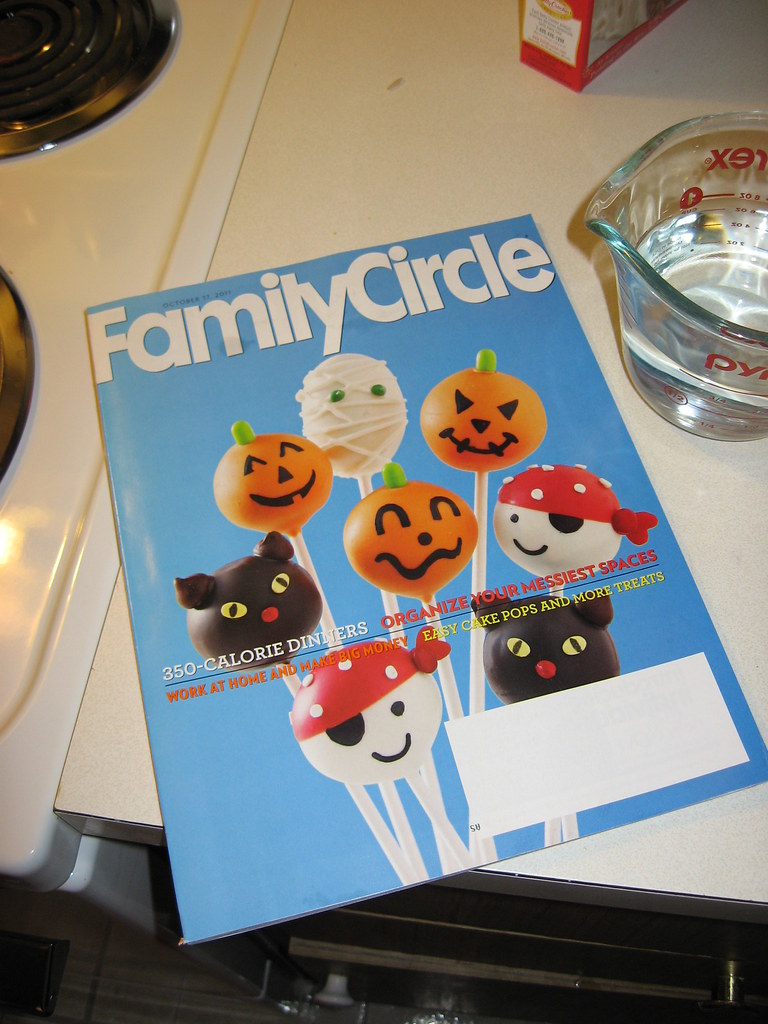
Pages

Showing posts with label pumpkin cake balls. Show all posts

Monday, October 31, 2011

Pumpkin Cake Balls Part 2 of 2

HAPPY HALLOWEEN!

My Halloween treat to you is the "conclusion" of my cake balls post.  I hope you have a lot of fun tonight with your kids, or your friends, or your family, or your frat brothers -- whatever it is you are doing!  I can't wait to dress up my baby and help hand out some yummy treats.  We'll probably take a little stroll around the neighborhood, but not go door-to-door.  She's only 13 months old, after all!

If you haven't seen it, visit Cake Balls Part 1 first.

Now it's time to decorate the cake balls.

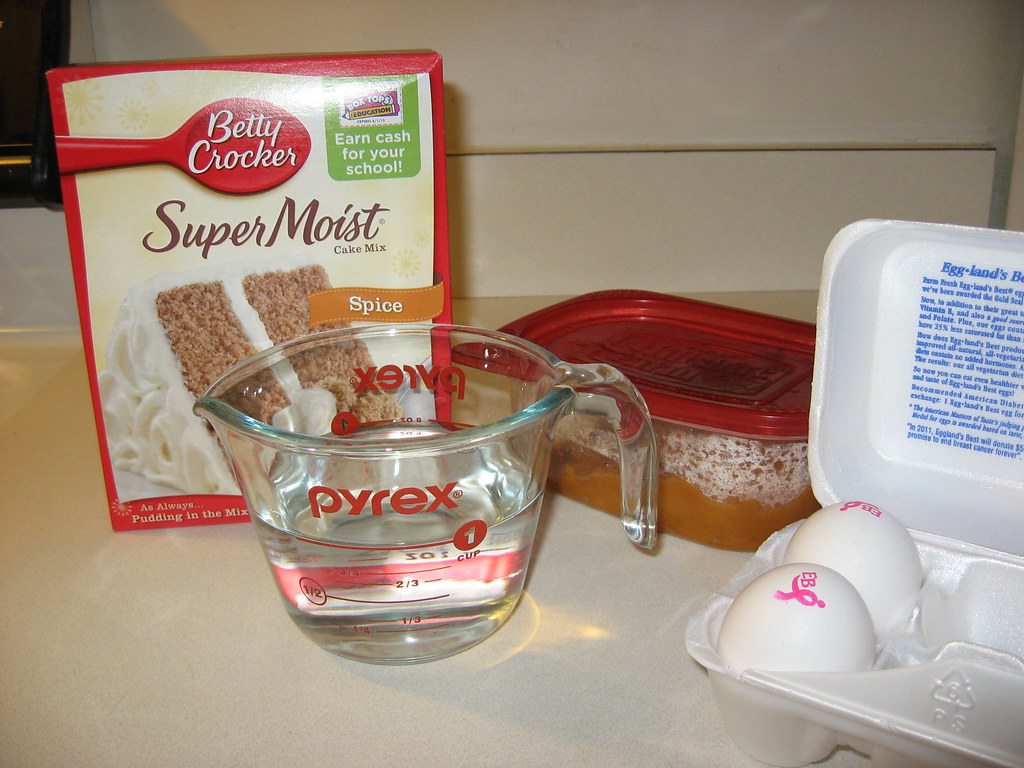
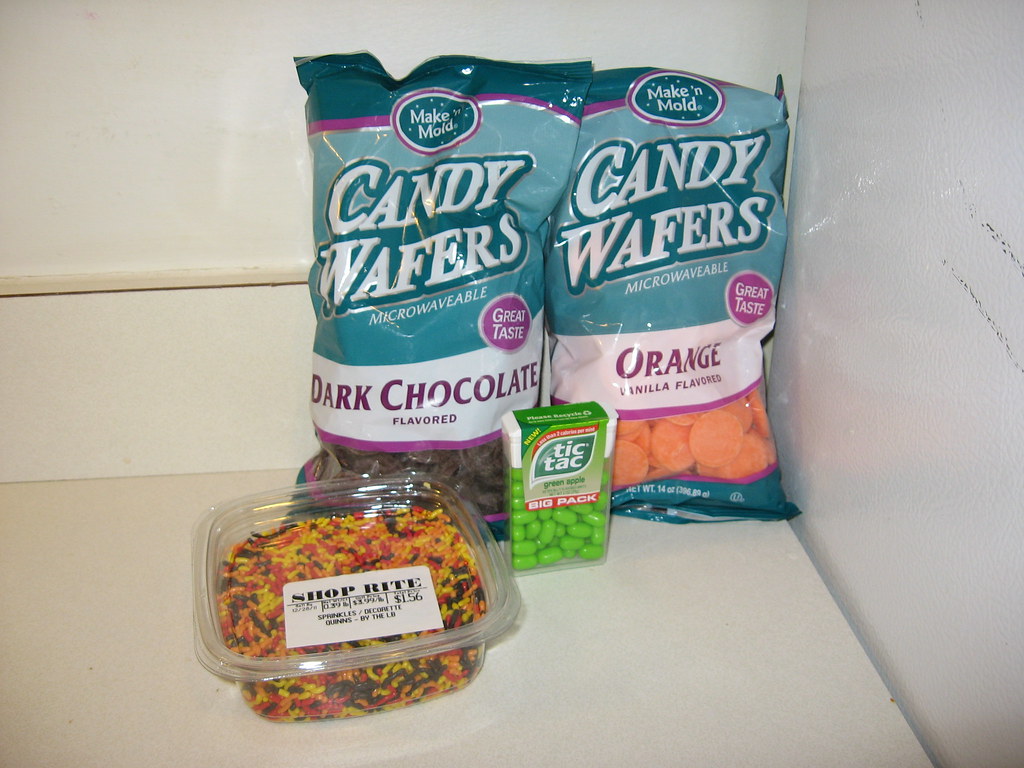
Supplies:  When you have made 50 cake balls, you need at least 2 bags of candy melts.  I chose vanilla-flavored orange and dark chocolate.  I wanted to make half jack-o-lantersn and the other half chocolate with fall-colored sprinkles.  To make jack-o-lanterns, I also needed an AmeriColor Food Writer and some green apple Tic Tacs.  I ordered the marker from Amazon here.

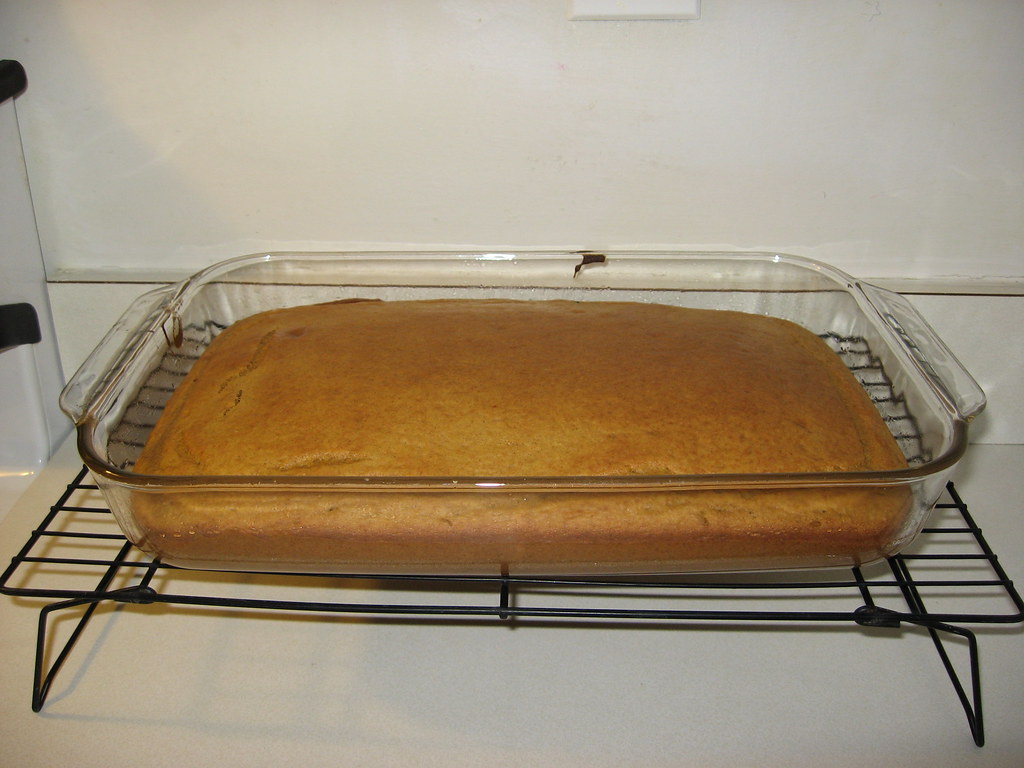
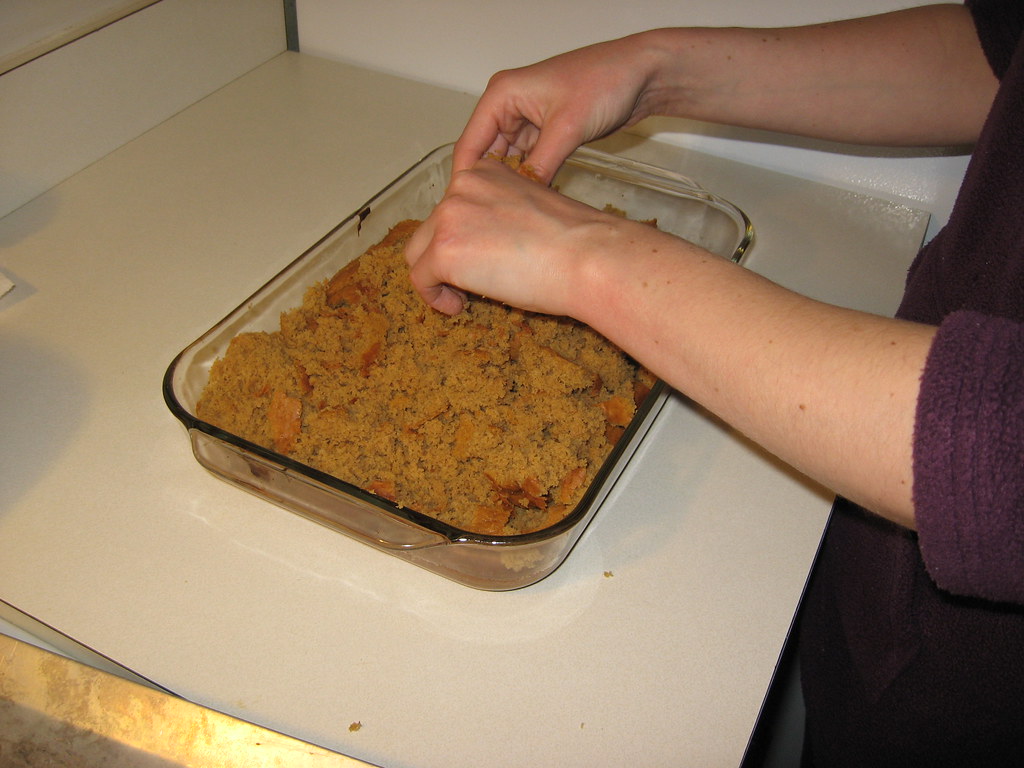
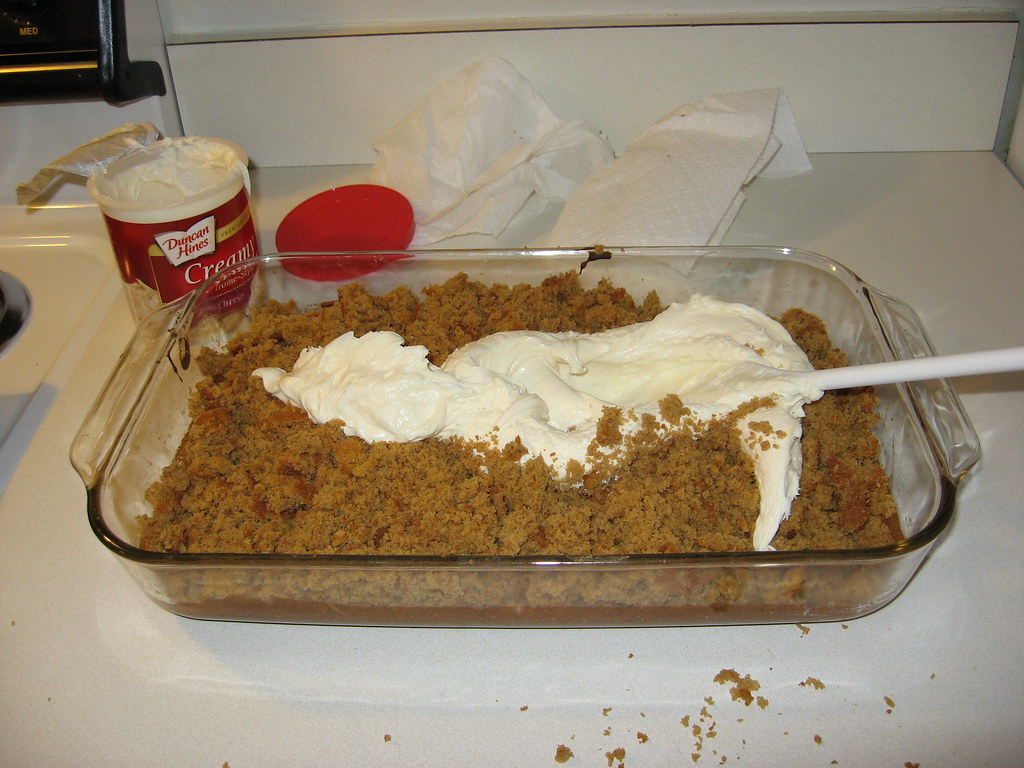
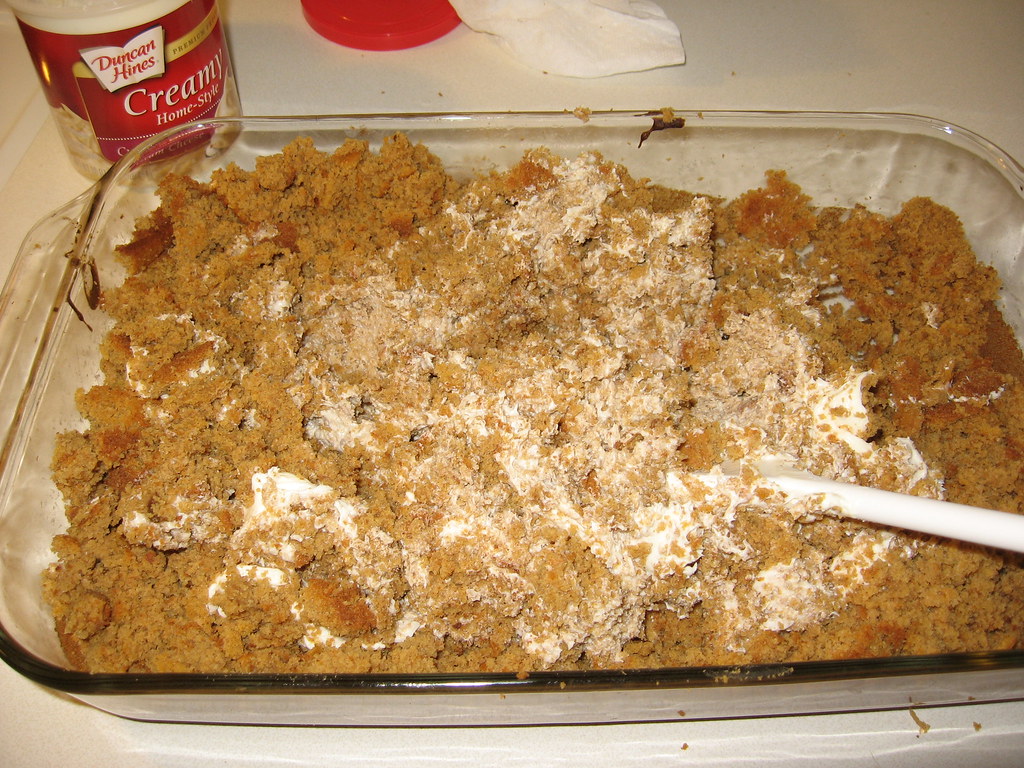
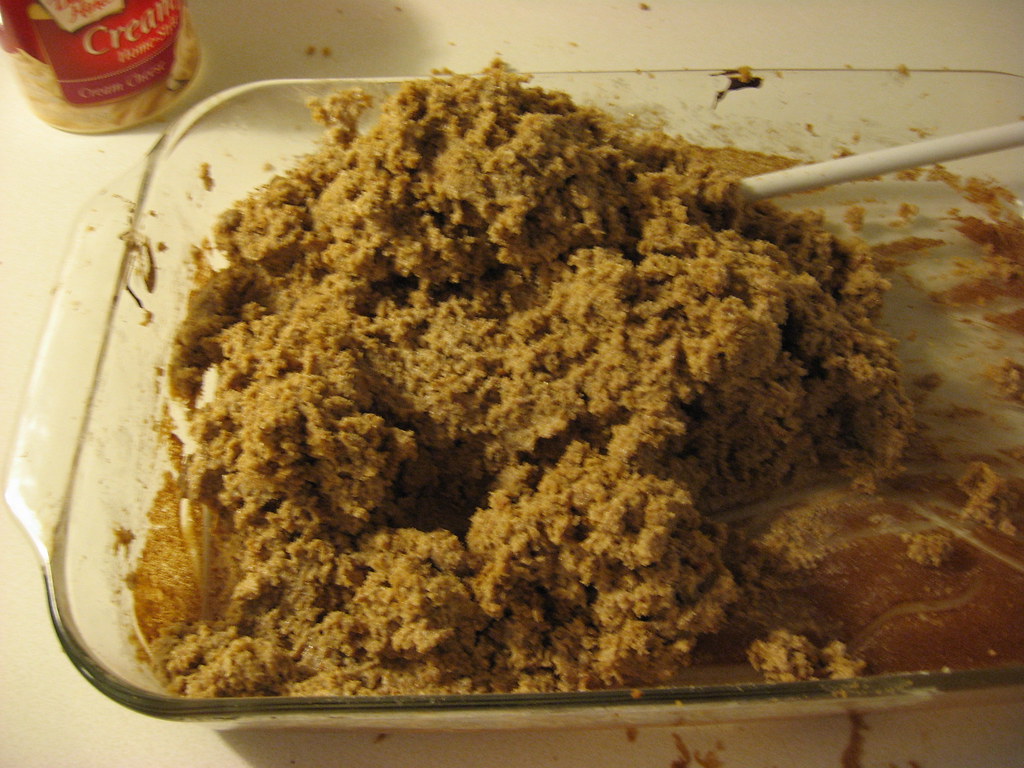
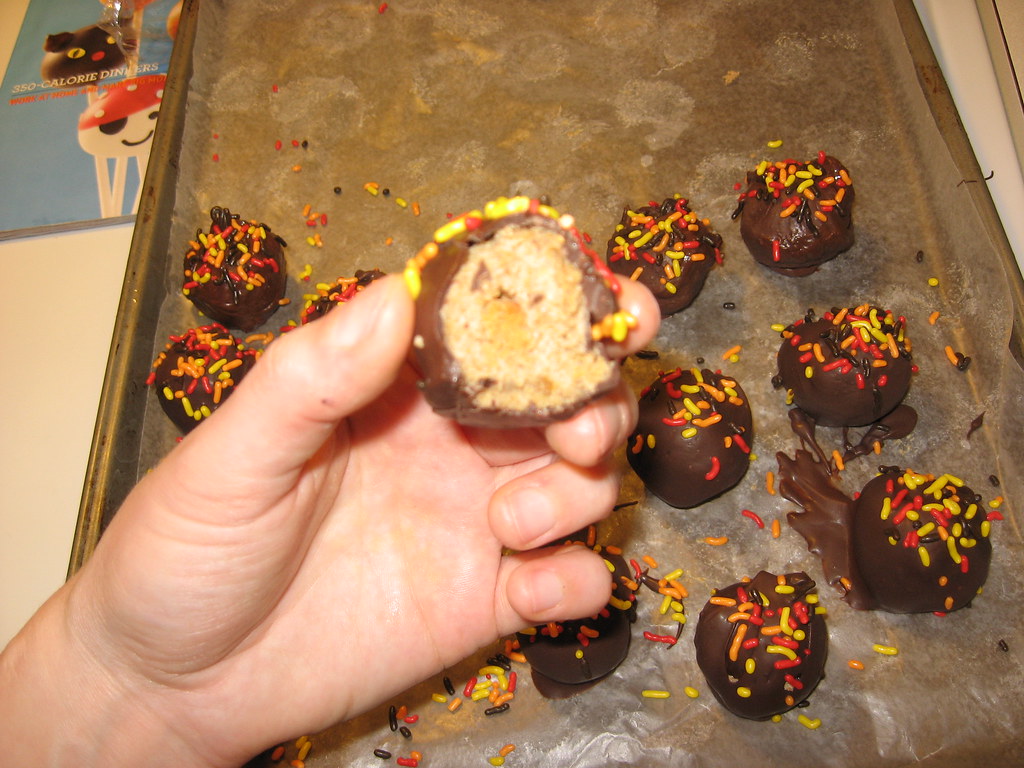
Supplies!

Cover a cookie sheet with wax paper.  Take some of your frozen balls out of the freezer.  If you leave them out, they'll thaw out and not be so easy to work with.

Melt half your bag of candy melts.  I put mine in the microwave for one minute, stirred, and another 20 seconds.  Another great way is to use a double boiler.
In the past, I made cake balls chilled, but not frozen.  But this time I did frozen and it made it go by so fast!  I can't believe I've been messing with not-frozen in the past.  Lesson learned!  Do it frozen!

If you are using Tic Tacs to make pumpkins, put the cake ball on a cookie sheet and insert the Tic Tac.  Hold for a second or two until it sets.
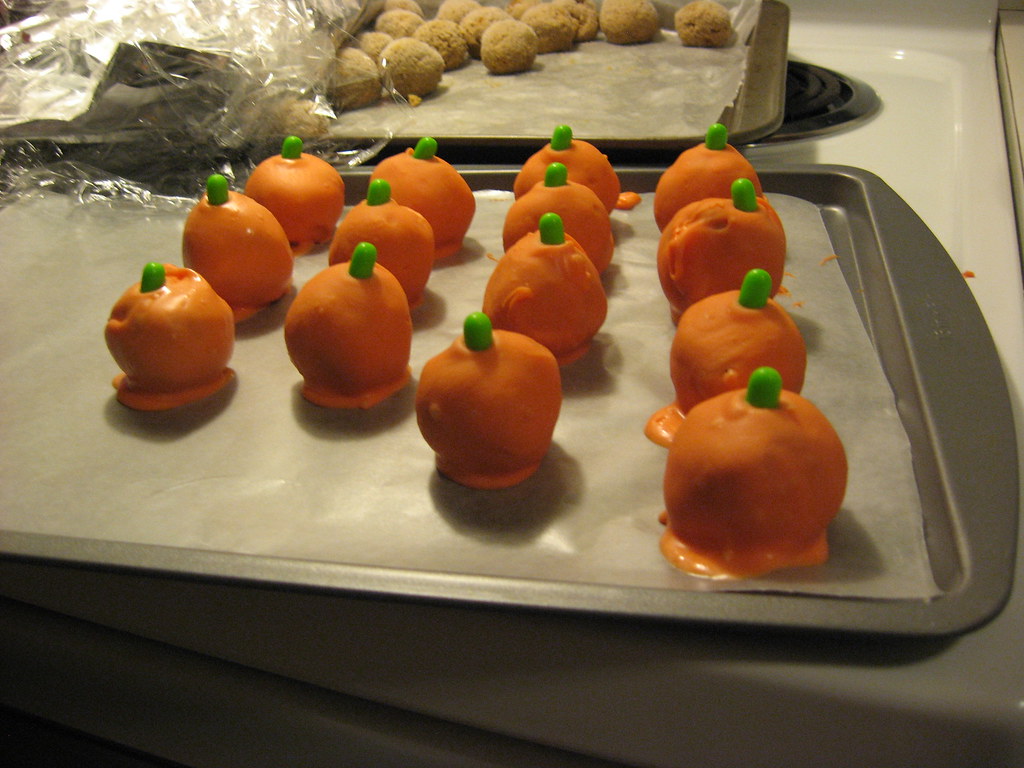
Pumpkins all in a row!
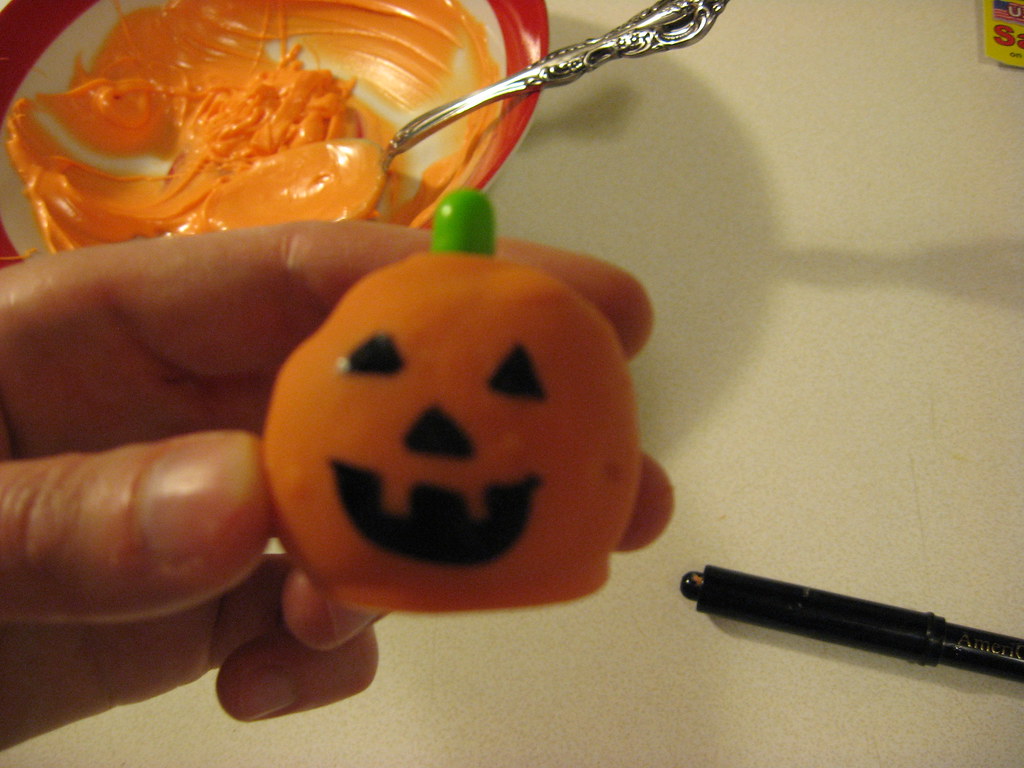
If you are using a cake writer and making pumpkin faces, this can be tricky!  Make sure you draw the face AFTER the chocolate sets, and before condensation starts to form.  Once the candy gets wet, it's nearly impossible for the marker to work.
Hi!
If you are using sprinkles....
....place the cake ball on your sheet, then sprinkle before the chocolate sets.
My other cake balls!  And what it looks like when bitten into.
After all the chocolate has hardened, I put them in a bin or sealable bag and put them in the fridge (not the freezer).  We really like the way they taste REALLY cold.  Of course, this makes the marker not dry, so be careful if you made faces.  If you didn't make faces, there is nothing to worry about! :)
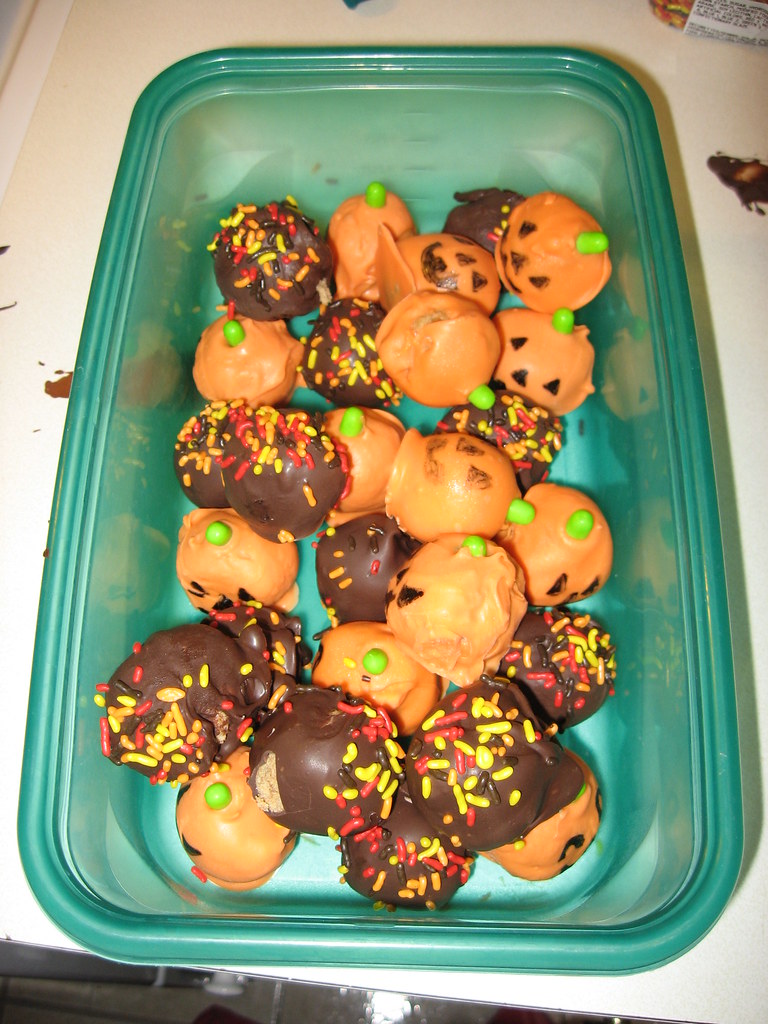
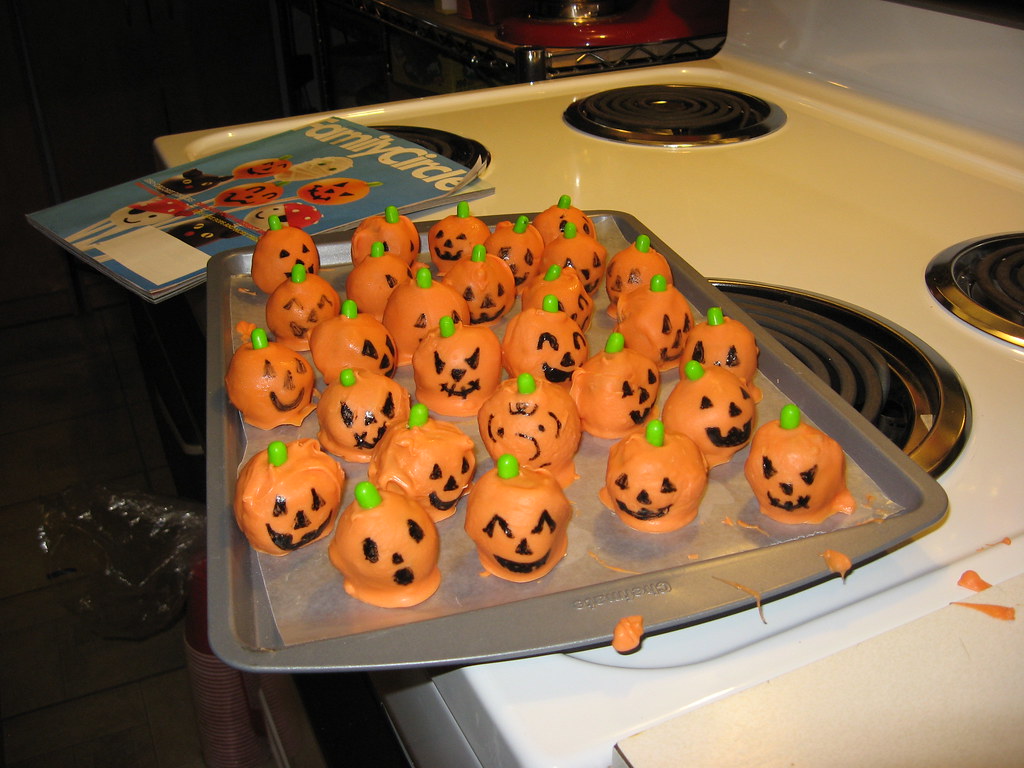
Finished!
Believe it or not, these only took about 40 mintues to decorate.  I've had other times where it took MUCH longer.  But that was because I was melting the candy little bits at a time (ugh), using cake that was not frozen, so it would crumble on me and I had to be delicate.  With them being frozen, it took a lot less time.

Notes about Cake Balls/Pops.  The lovely thing about cake balls is you can mix and match.  Our favorite is homemade "Hershey's Perfectly Chocolate" cake mixed with Duncan Hines cream cheese frosting and coated in dark chocolate.  So good!  Red velvet cake covered in chocolate is also so very good!

I hope that you enjoyed this post as much as I did preparing it.  And again,

Happy Halloween!

BeatlesFreak

Friday, October 28, 2011

Pumpkin Cake Balls Part 1 of 2

Yes, I am making a two-part cake balls post!  Have you heard of cake balls yet?  They are a truffle-cake-candy hybrid (confused?).  I discovered them recently on allrecipes.com because they kept winning the daily photo contests (LINK!).  Then a few months later, I stumbled upon Bakerella.com.  Her website is filled with fun pictures of her treats.  She pretty much made cake balls and cake pops famous, and has a fabulous book -- all because of her blog!  When I saw her Halloween Cake Pops post, I knew that I had to try them soon! 
 
I started making a couple different kinds of cake balls and cake pops, including some for Rachel's birthday party.  I've made the cake from scratch, I've made the cake part from boxed mixes.  Both result in delicious, moist cake with a crunchy candy coating on the outside.   When I started this blog, I decided that I would definitely make the Halloween cake balls I had been reading about for months now.  It helped that I saw this on newsstands for inspiration:
Here is how you make cake balls in a nutshell:
  • Bake a cake (9" x 13")
  • Crumble a cake
  • Add frosting, mush together
  • Roll into balls
  • Dip the balls into hot melted candy chocolate and let harden
Since it is a lot of steps over a few days, I decided to go with an EASY, not-from-scratch recipe.  If I wanted to make this from scratch, I'd use the recipe in my Favorite Pumpkin Bread post.  I decided on this Duncan Hines recipe: http://duncanhines.com/recipes/cakes/dh/spice-pumpkin-cake .

Here we go!

Ingredients
STEP ONE: Preheat oven to 350 degrees F.  Mix everything together and bake for 30 minutes.  Allow it to cool fully on a wire rack.
Add wet ingredients to dry ingredients.
Beat with wire whisk, hand mixer or stand mixer.
Bake and cool.
STEP TWO: Cut off any hard edges and dispose how you see fit.  Crumble the cake.  If you really want to, make it even more fine by running through a food processor.

STEP THREE: Add almost an entire tub of cream cheese frosting to your crumbles and mush together.  I've done this two ways: by hand and with my mixer.  Both work well, but the mixer is easier and cleaner.

It doesn't look very appetizing at this point, I know!
STEP FOUR: Roll into balls onto a cookie sheet covered with waxed paper.  Then cover with plastic wrap and tin foil and pop into the freezer until you are ready to decorate.  Note: Wash your hands frequently so that rolling goes smoothly.  Cake will accumulate on your palms.
Yield: About 50 bite-sized balls.

My thoughts on the cake recipe: It is good and REALLY easy, but it doesn't have a lot of pumpkin flavor...  It mostly tasted like spice cake.  When I make these again, I would like to try a different recipe or make easy pumpkin bread from scratch and crumble that up.  I think that would work well.


STAY TUNED FOR PART 2 - The fun part: decorating!

"Like" Pumpkin Obsession on Facebook (please and thank you)!