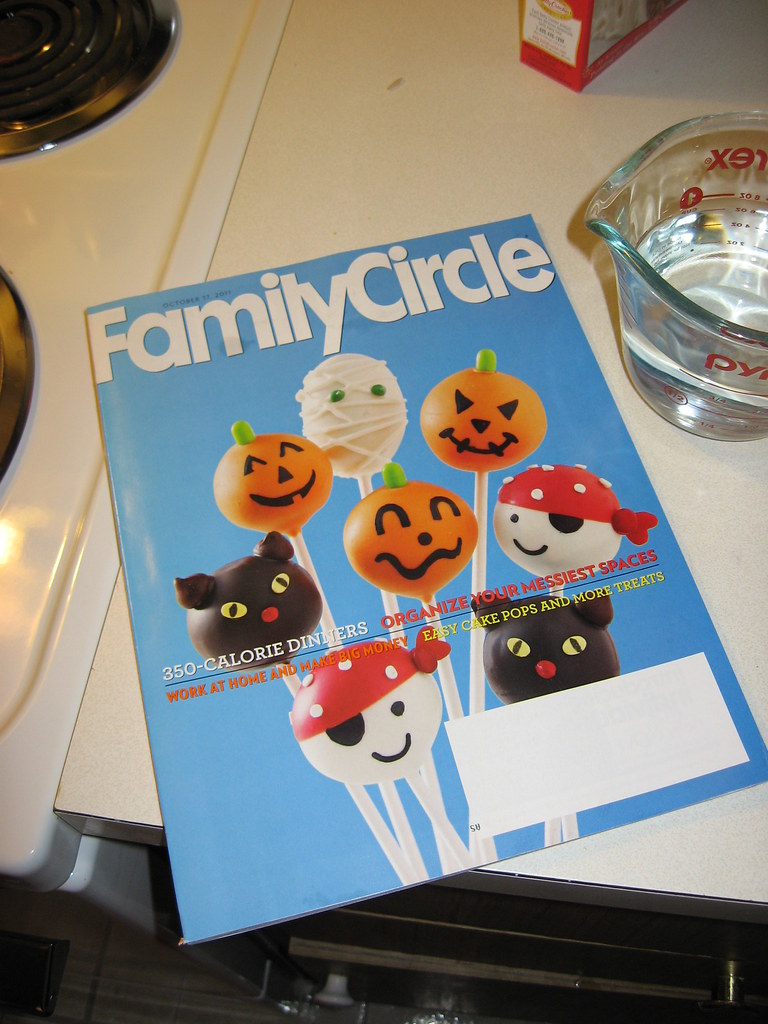
I started making a couple different kinds of cake balls and cake pops, including some for Rachel's birthday party. I've made the cake from scratch, I've made the cake part from boxed mixes. Both result in delicious, moist cake with a crunchy candy coating on the outside. When I started this blog, I decided that I would definitely make the Halloween cake balls I had been reading about for months now. It helped that I saw this on newsstands for inspiration:
- Bake a cake (9" x 13")
- Crumble a cake
- Add frosting, mush together
- Roll into balls
- Dip the balls into hot melted candy chocolate and let harden
Here we go!
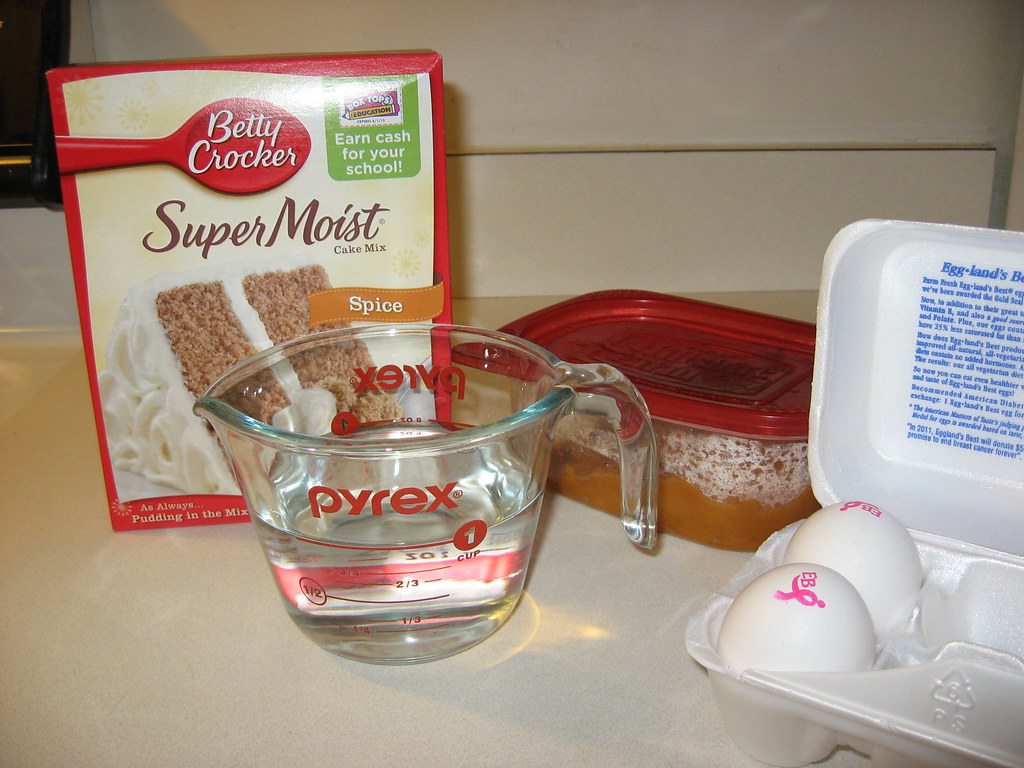
Ingredients
- 1 package Duncan Hines® Moist Deluxe® Spice Cake Mix (I used Betty Crocker because our supermarket didn't have Duncan Hines Spice)
- 2 large eggs
- 1 cup water
- 1 cup canned pumpkin
 |
| Add wet ingredients to dry ingredients. |
 |
| Beat with wire whisk, hand mixer or stand mixer. |
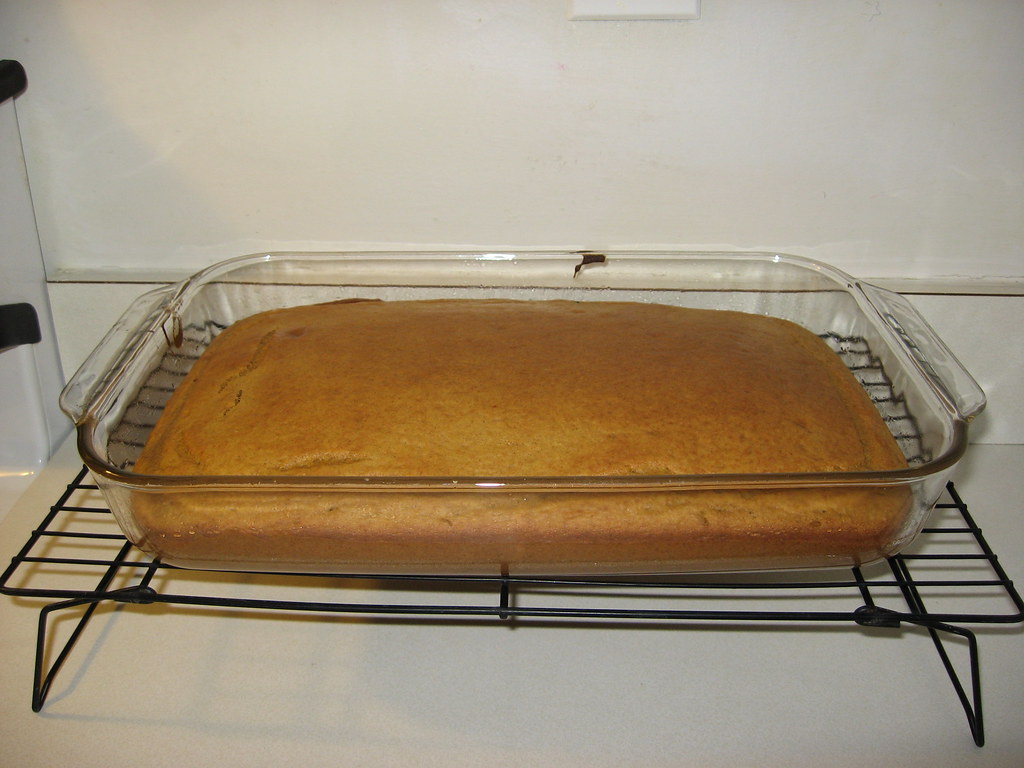 |
| Bake and cool. |
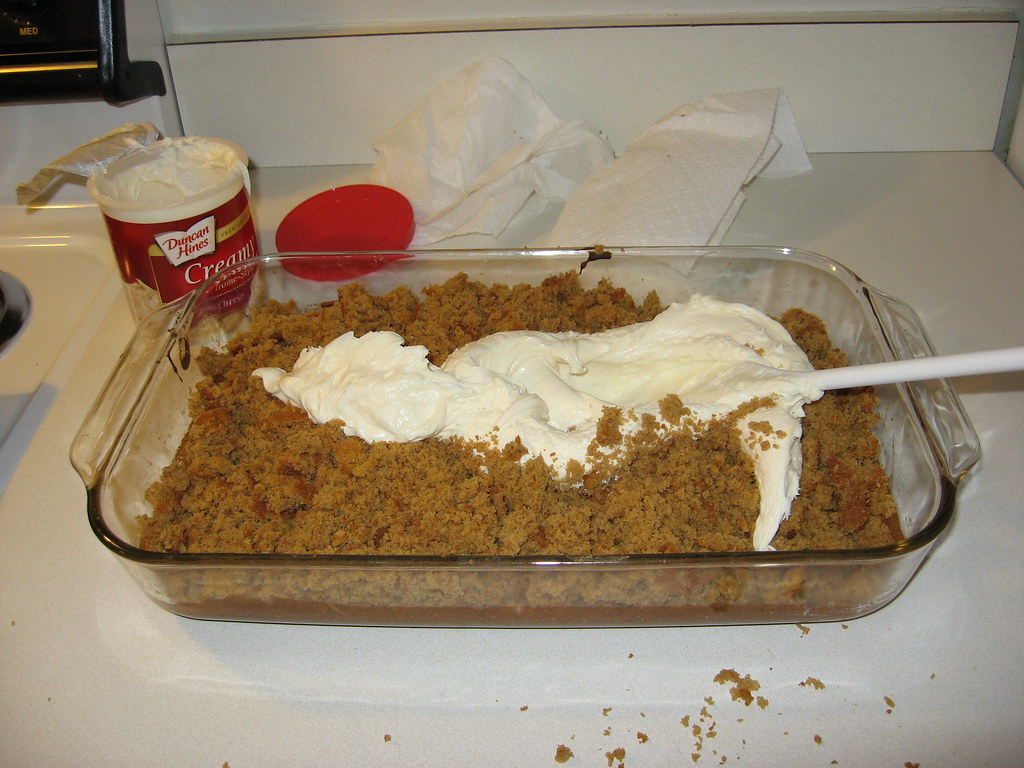
STEP TWO: Cut off any hard edges and dispose how you see fit. Crumble the cake. If you really want to, make it even more fine by running through a food processor.
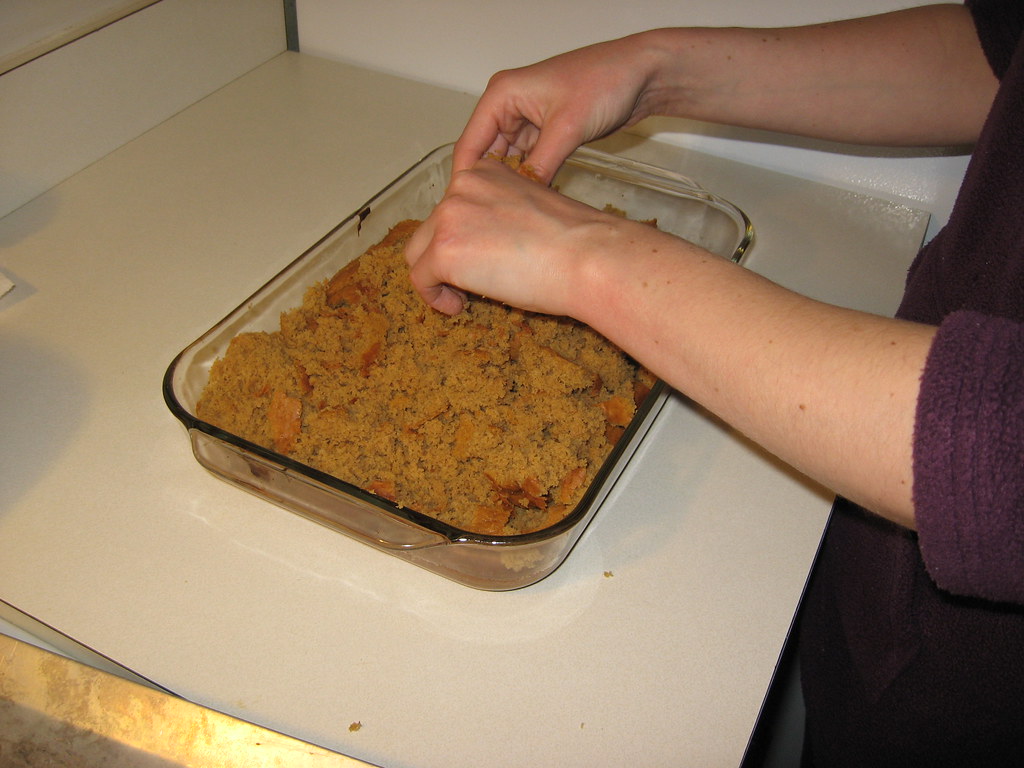
STEP THREE: Add almost an entire tub of cream cheese frosting to your crumbles and mush together. I've done this two ways: by hand and with my mixer. Both work well, but the mixer is easier and cleaner.
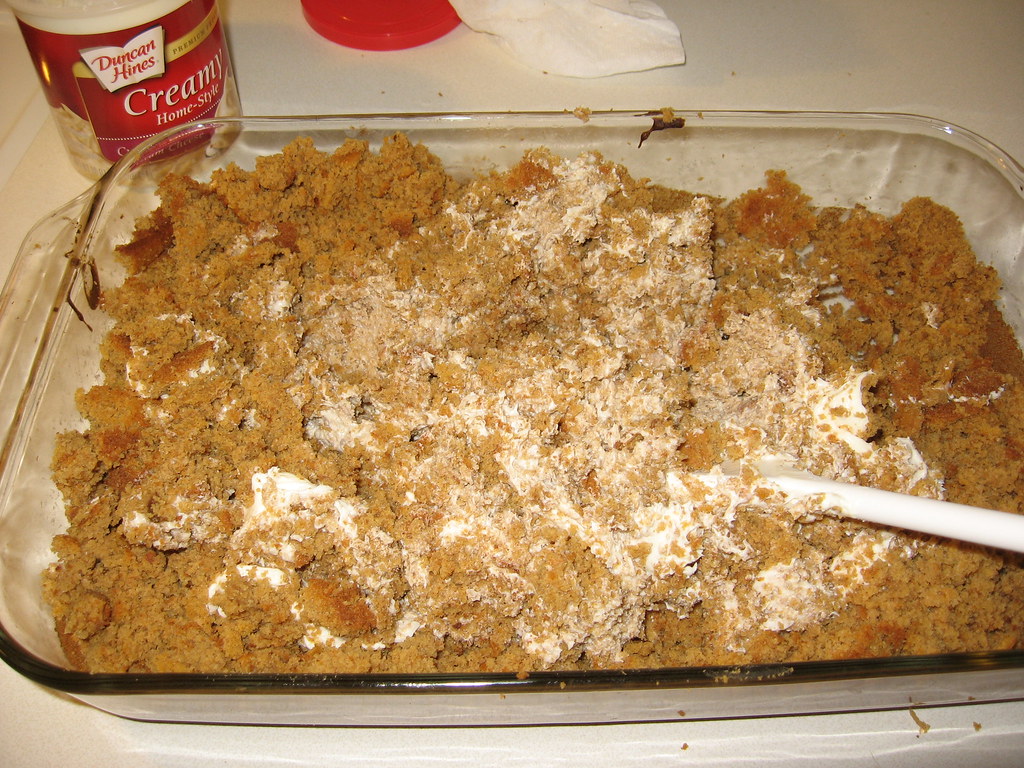
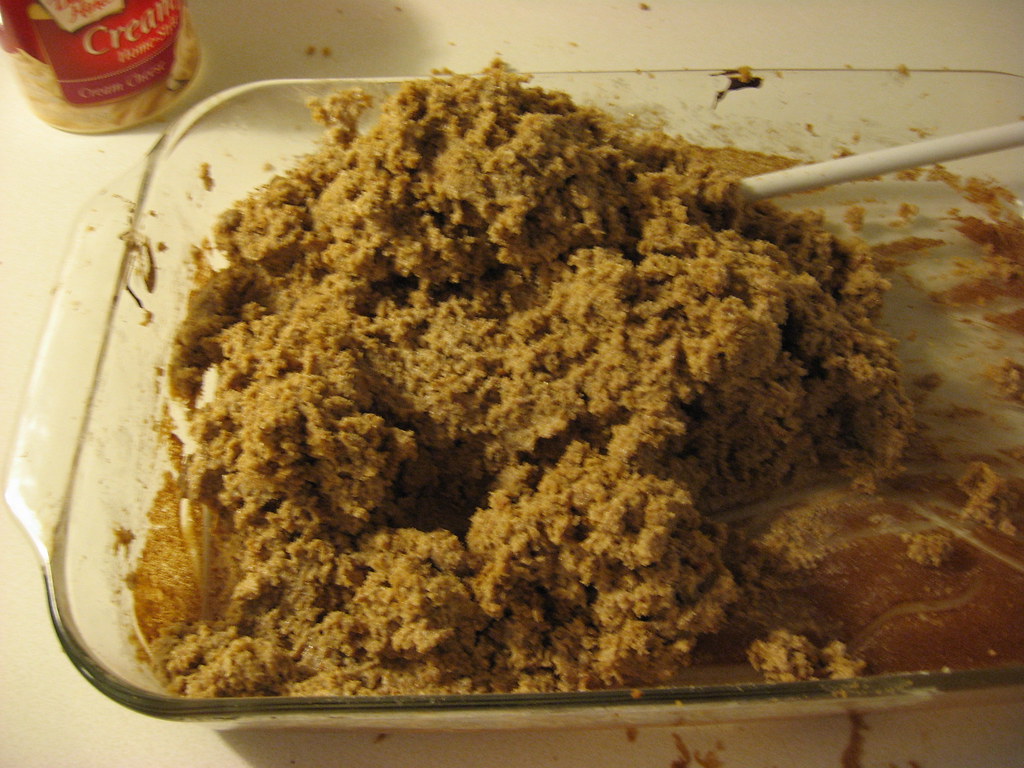 |
| It doesn't look very appetizing at this point, I know! |
STEP FOUR: Roll into balls onto a cookie sheet covered with waxed paper. Then cover with plastic wrap and tin foil and pop into the freezer until you are ready to decorate. Note: Wash your hands frequently so that rolling goes smoothly. Cake will accumulate on your palms.

Yield: About 50 bite-sized balls.
My thoughts on the cake recipe: It is good and REALLY easy, but it doesn't have a lot of pumpkin flavor... It mostly tasted like spice cake. When I make these again, I would like to try a different recipe or make easy pumpkin bread from scratch and crumble that up. I think that would work well.
STAY TUNED FOR PART 2 - The fun part: decorating!
"Like" Pumpkin Obsession on Facebook (please and thank you)!
I made pumpkin cake pops before and when I made my kiddo's smash cake for her pictures, I basically did the same thing because I knew it would be easier to cover with the fondant afterwards. The pumpkin recipe I use is one from allrecipes...love that site! It's really delicious so if you'd ever like to try it I have included the link. I just leave out the crystallized ginger (although one time I'm going to add it for me and forget everyone else).
ReplyDeletehttp://allrecipes.com/recipe/pumpkin-ginger-cupcakes/detail.aspx
I've seen that recipe before - I never tried it because of the crystallized ginger becaus that sounds like one of those things that is hard to find. Glad to know it works without it, though! I'll have to try it the next time I Want to make pumpkin cake balls (next year's cake ball post maybe?) Thanks for sharing!!
ReplyDelete